


This is a full and detailed, step by step guide to get you playing A Final Unity on your windows machine. This tutorial will setup and configure the game so each time you play, you don’t need the CD.
| Difficulty: | |
| Time: | 30 mins |
| User Rating: |
Below is a list of what you will need…
- D-Fend Reloaded – this is a MS-DOS emulator. You may already have this if you have followed some of our other tutorials. If not follow the link to show you how to download and install.
- DAEMON Tools Lite – this is a drive emulator. There are others available, but I use this one. You may already have this if you have followed some of our other tutorials. If not follow the link to show you how to download and install.
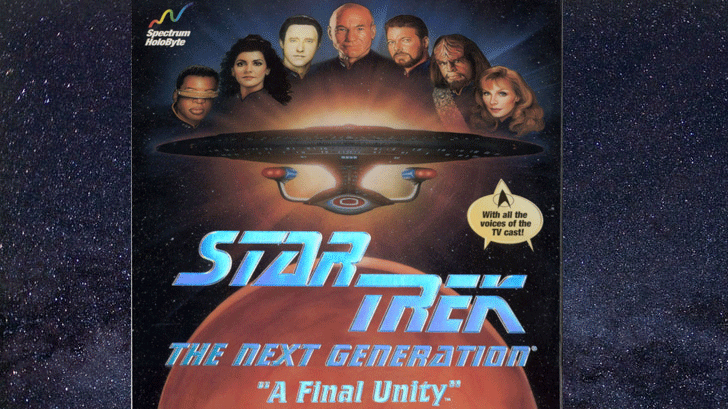
- Star Trek The Next Generation A Final Unity – The game. Either as your CD or if you have managed to acquire an .iso rip of the CD, or check My Abandonware
The assumption is that you are running Windows 10.
So when A Final Unity was released, the way to play the game was to install it through MS-DOS and run it that way. Modern Windows OS don’t use MS-DOS any more but thanks to programs like D-Fend Reloaded, you can emulate a DOS environment on your PC.
What we are doing in this tutorial is showing you how to install A Final Unity in a DOS environment and configure it so you can play whenever you want.
Installing ‘A Final Unity’
If you have your ‘A Final Unity’ CD, then put it in your CD drive and skip to step 3.
- If you have the game files in a .zip file, unzip it to your desktop – or somewhere you can find it easily.
- Go to your newly unzipped folder and there should be a single file. Depending on where you got your file from, this could be named slightly different. It is showing as a DAEMON Tools type file (a blue circle with lightening, like the image below).
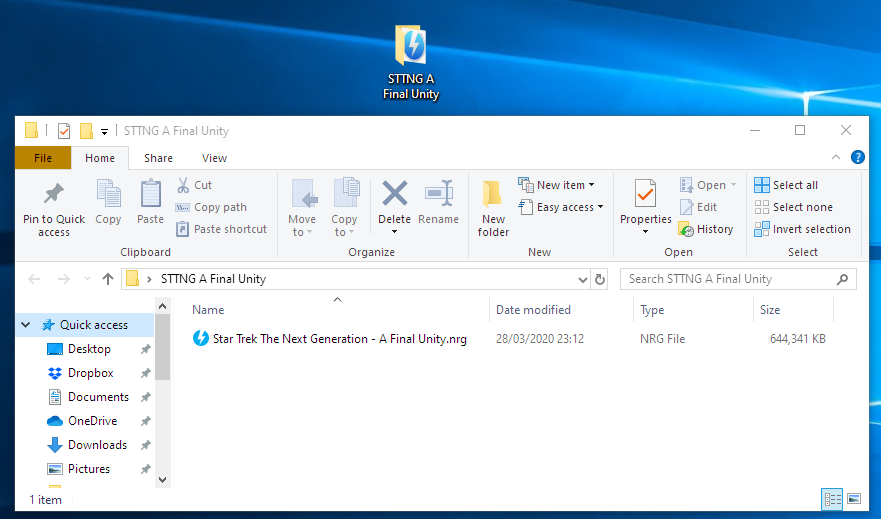
- Double click the file and it will ‘mount’ onto a virtual CD drive.
- Open the newly mounted CD drive and select all the files, then right click and copy.
- Navigate to your D-Fend Virtual hard drive. Default is: C:\users\*your username*\D-Fend Reloaded\VirtualHD
- Create a new folder called ‘STTNG-CD’
- Open ‘STTNG-CD’ and paste all the copied CD files in there.
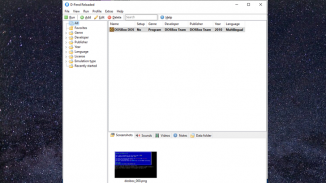
- Now run D-Fend Reloaded
- Click ‘Add‘ > ‘Add manually‘ > ‘Add DOSBox profile‘ to add a new game profile
- Click on ‘Drives‘ from the left menu and ‘Add‘
- Select ‘Type: CD drive‘. Under ‘Folder for mounting’, click ‘Choose Folder‘ icon and navigate to your STTNG-CD folder. Select it and press ‘Ok‘.
- Click ‘Profile‘ at the top of the left menu
- For Profile name – give it any name you want – I called it Star Trek The Next Generation – A Final Unity
- Click the folder icon by the ‘Setup File’ path. In the explorer window, navigate to your STTNG-CD folder, then select the ‘INSTALL.EXE’ file and press ‘Open‘.
D-Fend Reloaded will now assume that your STTNG-CD folder is actually a CD drive.
- Hit ‘Ok‘. You’ll get a warning dialog box about not defining a filename for the game. Just press ‘Yes’ to continue.
- Now right click on your new profile and select ‘Run setup‘. This will begin the install process.
The game setup program will then run. It will probably run full screen, so hit ‘ALT & ENTER‘ to go windowed (which is easier for the setup).
You can use the keyboard or the mouse in the setup.
- Select ‘Install Game‘
- Choose the ‘Install optimal version‘ – this is the version that will not use the CD as all files are installed on the hard drive.
- A check on your system will be done – all should be good so hit ‘Ok‘.
- Leave the next option on C: as default and hit ‘Ok‘
- You can rename the install directory but I’d leave it as the default ‘STTNG’, hit ‘Ok‘.
- All options should be done – so select ‘Install‘
Now sit back and wait. I found that my computer took around about 10 minutes to install. It stayed on 1% for a while then jumped to 37% and then up. So best to just leave it. It may look like nothing is happening but it is.
When the install is complete you have the option to ‘Configure hardware‘
- Select ‘Configure hardware‘ and then ‘Ok‘
- Select ‘Set up sound card‘ and then ‘Ok‘
- Leave the selection on Auto detect and hit ‘Ok‘
- Click ‘Sound Test‘ and follow the instructions. You should hear the voice of Captain Picard (make sure you speakers are on and not on mute)
- You should hear everything fine, so hit ‘Ok‘, then ‘Ok‘ again.
On a side note: your sound should all be fine as it is being controlled by D-Fend Reloaded, as should your graphics, mouse and keyboard. If you have any problems let us know in the comments.
- Select ‘Set up video mode‘, then ‘Ok‘
- Auto detect should work fine here, but I choose the highest setting, 640×480 65536 colours. ‘Ok‘
- Follow the on-screen instructions to test the display
- Then ‘Return to the previous menu‘
- Then ‘Exit and save configuration‘
- and finally ‘Exit installer‘
Well that’s it, that is the game installed. We are almost there, but there’s just one thing left to do…
- Back in D-Fend Reloaded, right click on the profile you added and select ‘Edit‘
- For the ‘Program file’ click the ‘choose folder’ icon
- Navigate back to your D-Fend VirtualHD, and open the new STTNG folder, select the ‘STTNG.EXE’ and press ‘Open’
- Repeat for the ‘Setup File’, navigate to VirtualHD > STTNG > but choose the ‘SETUP.EXE. and press ‘Open’
- Now hit ‘Ok’
In order to play the game, double click the profile name or select it and press ‘Run‘.
It should run in full screen, but you can ALT + ENTER to run windowed. Below is proof…
and that’s it. You’re done.
If you followed all the steps above, then you should now have an installed and working copy of A Final Unity. You can play anytime and you wont need to mount any CDs (we did that copying the folder in D-Fend).
Enjoy.


Be the first to comment